Hardware Prototyping
Assembling the circuit
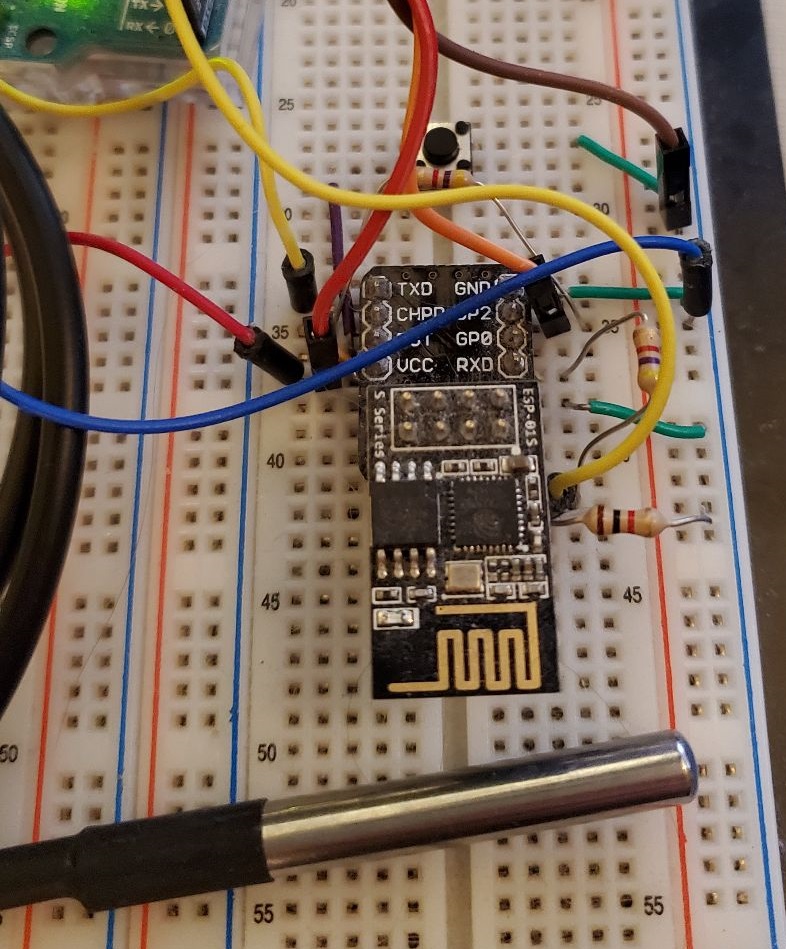
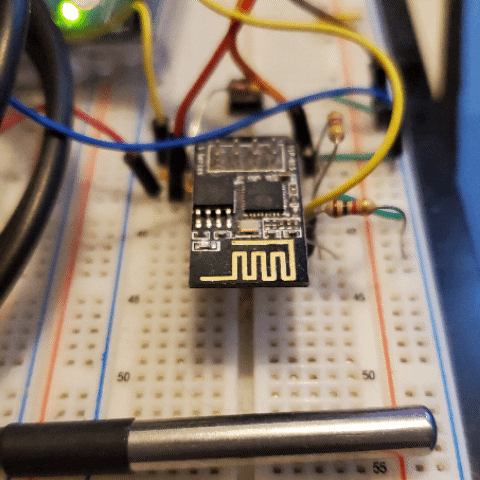
Now that the initial design is out of the way, I can finally start assembling the circuit (This may have been completed before the start of the writeup). There are a few ways to adapt the ESP01 to work with a breadboard, and I chose an adapter board, but not this specific one, from amazon.
To interface the DS18B20 with the breadboard, I solder some pins on the leads. I’m also missing a switch for the GPIO0 boot pin, so right now I’m attaching and removing a jumper.
Testing the circuit
General Test
As is tradition, I loaded it with reliable ol’ Blinky.
By following my own tutorial to flash with an arduino, I can easily load up software to test that everything is connected. I’m using Simon Peter’s ESP8266 Blink
DS18B20 Test
Doing similar, I load up the DS18B20 Arduino example
The output shows it is working 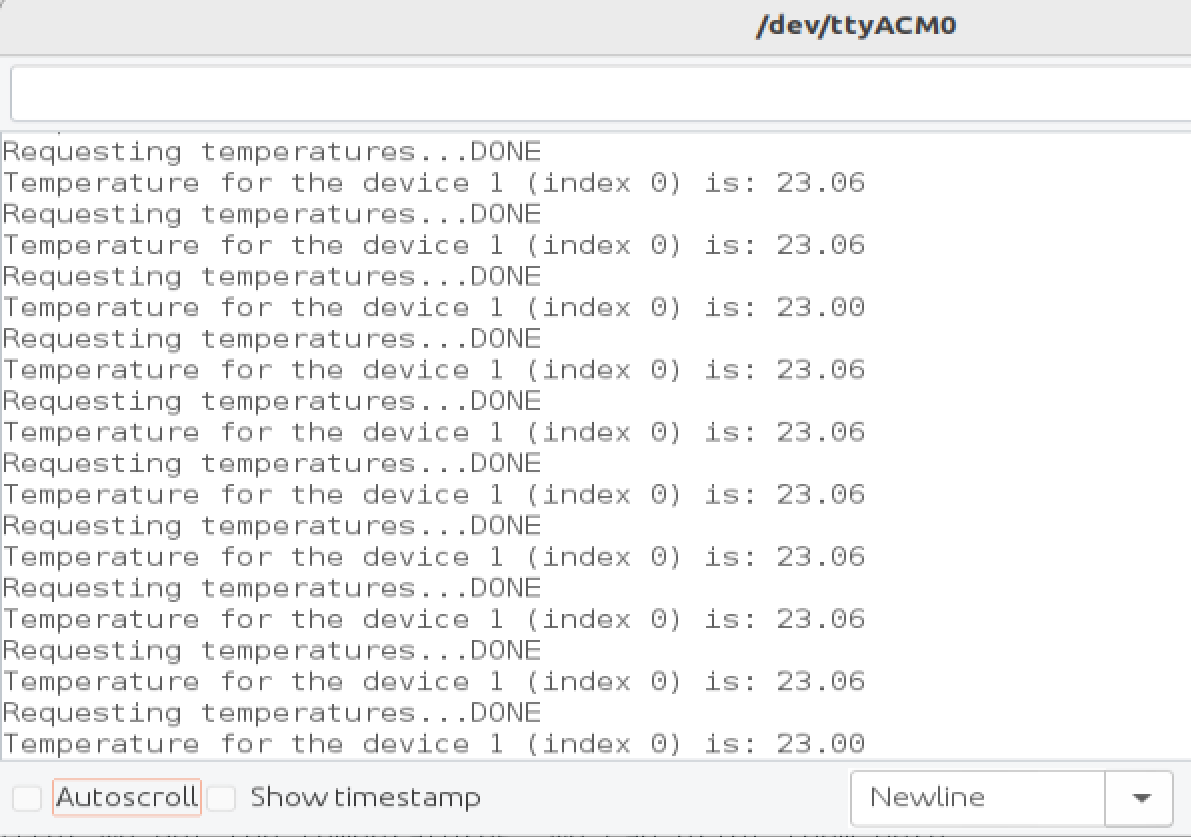
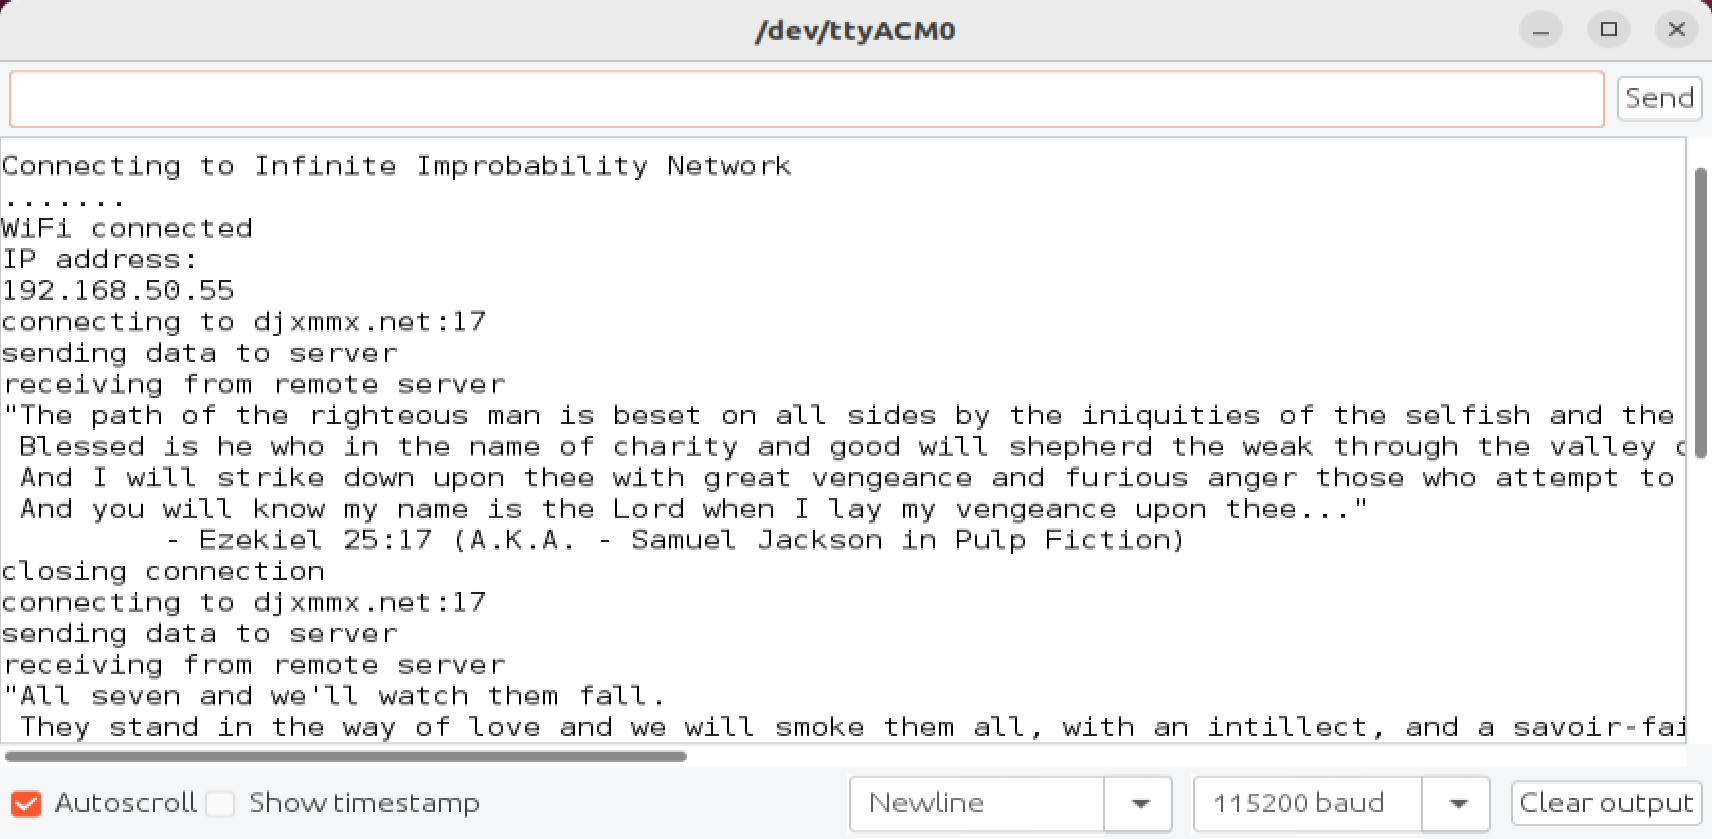
WiFi Test
Using the Arduino ESP8266 WifiClient Example, Wifi is easily tested.
MQTT Test
Homeassistant MQTT Configure
To get Homeassistant to view any mqtt topics:
- Go to settings->Integration entries->mqtt->configure
- Listen to ‘#’
- Find topic ‘homeassistant/x/y’
- Subscribe to topic
- Set up payload like so https://www.home-assistant.io/integrations/mqtt#sensors
- Configure discovery
- Configure your configuration.yaml file like so
I’ve used the Adafruit MQTT_ESP8266 example
Here is my Home Assistant MQTT server receiving the MQTT messages 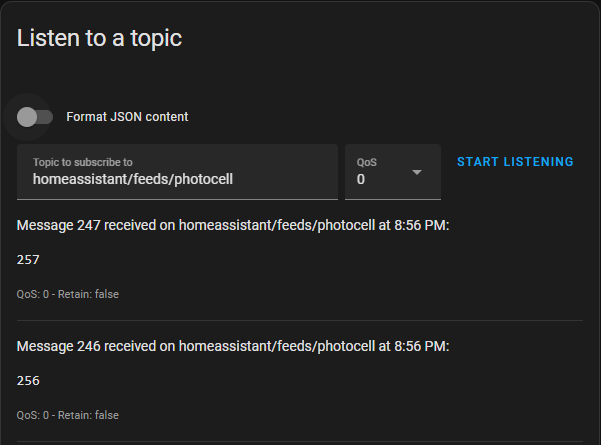
Software Prototyping
Throwing all of the code from the Arduino examples looks like this:
Github Gist
Github Gist
Server Side
Here is my Home Assistant MQTT server receiving the new formatted MQTT messages 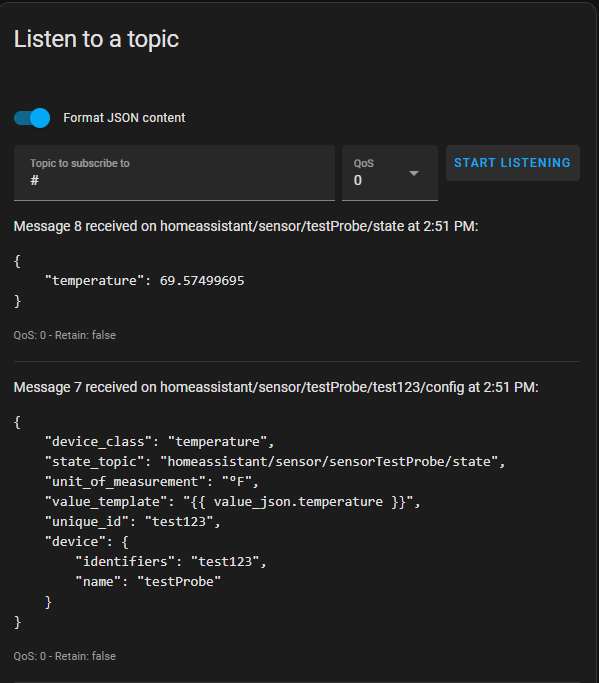
And here it is displayed in the dashboard 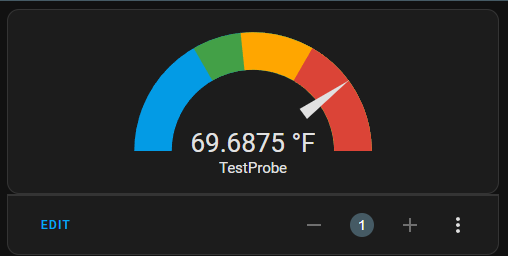
Next Steps
With the prototype proving everything in theory works, it’s time to solidify the design. Next comes the board design. After that, the software implementation.